Hashnomon: Battle and Collect Hashnode Developers
A collection/battler game powered by Grafbase and Hashnode's API
Description
Hashnomon is a web game in which you battle other developers or "devs" and attempt to recruit them into your roster of devs. Obviously, this game is derived from and is a very simple version of a certain very famous game series.
I've utilized Hashnode's Graphql API to fetch Hashnode developer information and used Grafbase to insert that API into my own with ease. These Hashnode developers are who will be fighting against each other in this simple game.
I used NextJs to develop the front end as well as the token generation for authentication. Tailwind was used to style the entire game.
Project Links
The Game
Demo
Menu
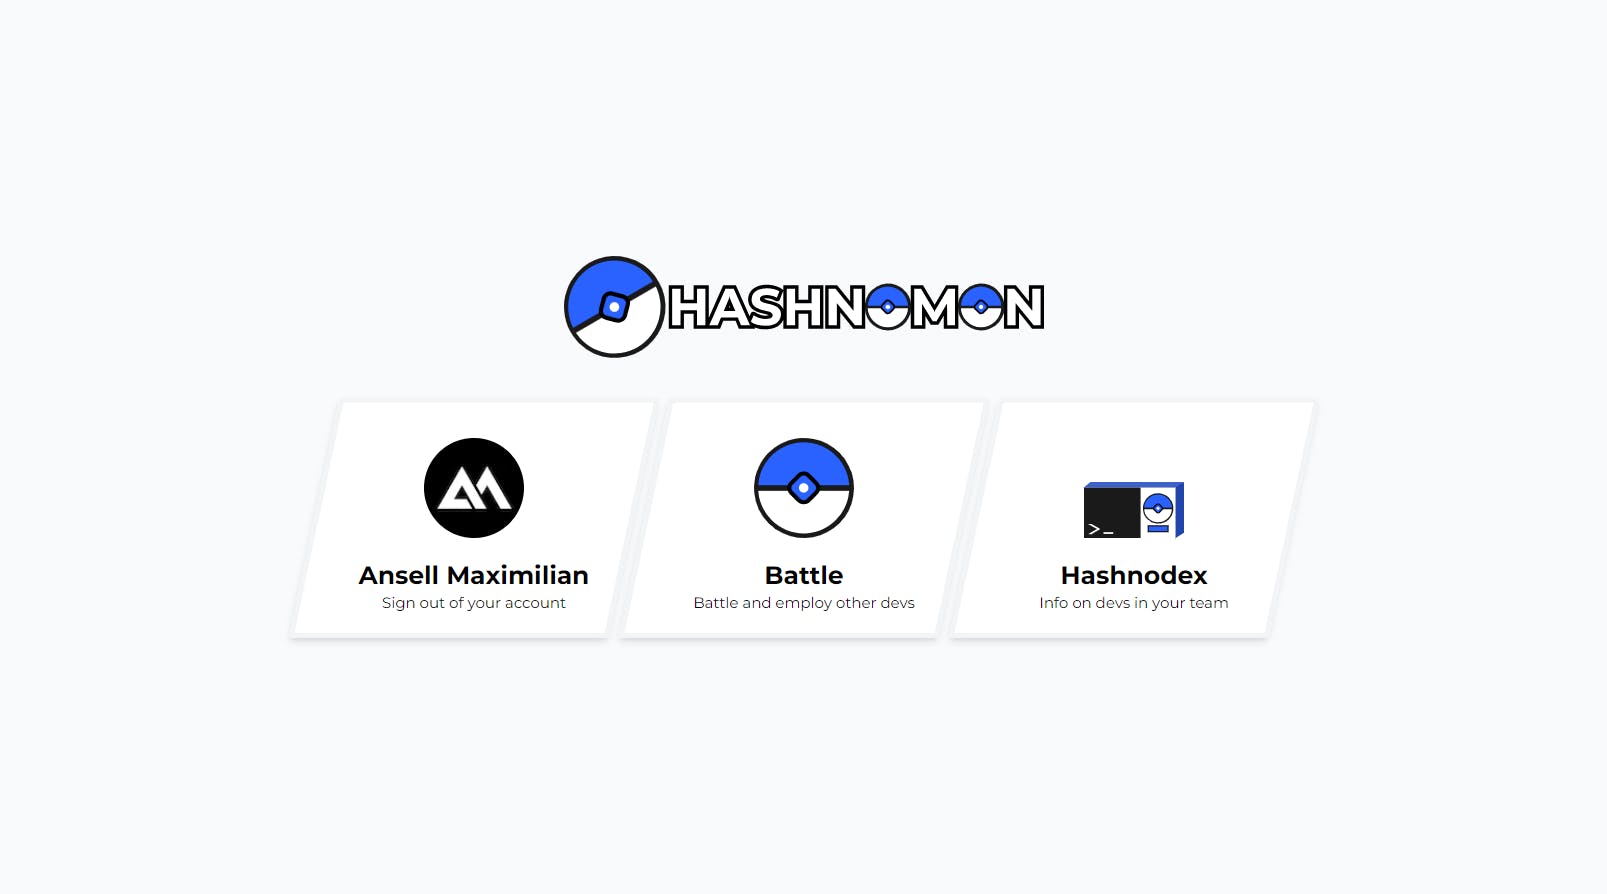
The game starts you off on the menu page. Here you will be able to log into your Github account. Once you're authenticated, two more menu options will be available to you: the battle and Hashnodex pages.
Battle Arena
Once you're on the battle arena page, you will be able to select both the Dev you want to "employ" for battle and the Dev you want to fight and attempt to capture. Note that by dev I mean anyone who has registered on Hashnode.com.
If you don't have any Dev on your team, you will be able to choose who your starter Dev will be by searching for them by username and clicking "Choose Dev". If you already have at least one Dev on your team, you can choose one from your roster. Next, you will choose who you want to fight/capture in the same way.

Once you've chosen either your dev or their opponent, their "strength", "defense", and, "speed" status will be displayed. If both devs have been chosen, a fight button will appear. Clicking this button will commence a battle between the two devs.

The Battle
Once the battle commences, the status bars will be replaced with a health bar. Each developer will have 1000 health points to start with. Both developers' "moves" will also be displayed on their respective sides. On top of the devs' base stats, these moves will determine the outcome of the battle. Moves can either be attack, power-up or heal moves. Attack moves will damage the opponent's health based on the move's power, the attacker's strength stat, and the defense of the opponent. Power-up moves will boost one of the user's stats. Finally, heal moves will fill up the user's health bar.
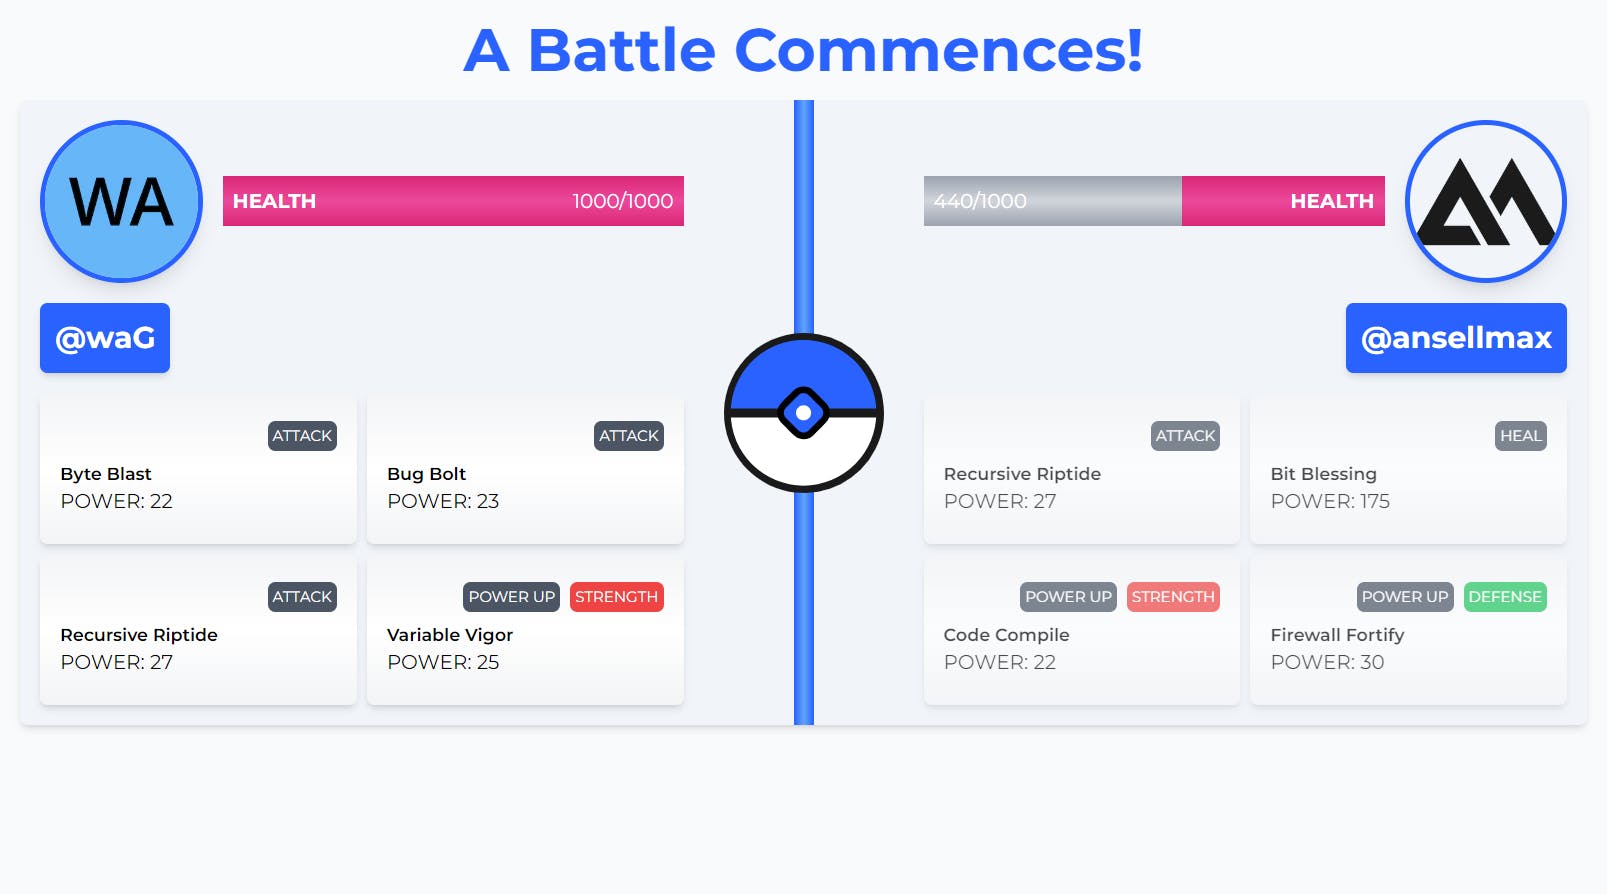
On the backend, these moves are assigned to each developer randomly and dynamically. If a dev has been chosen and has no assigned moves, the game will automatically assign them 4 moves at random.
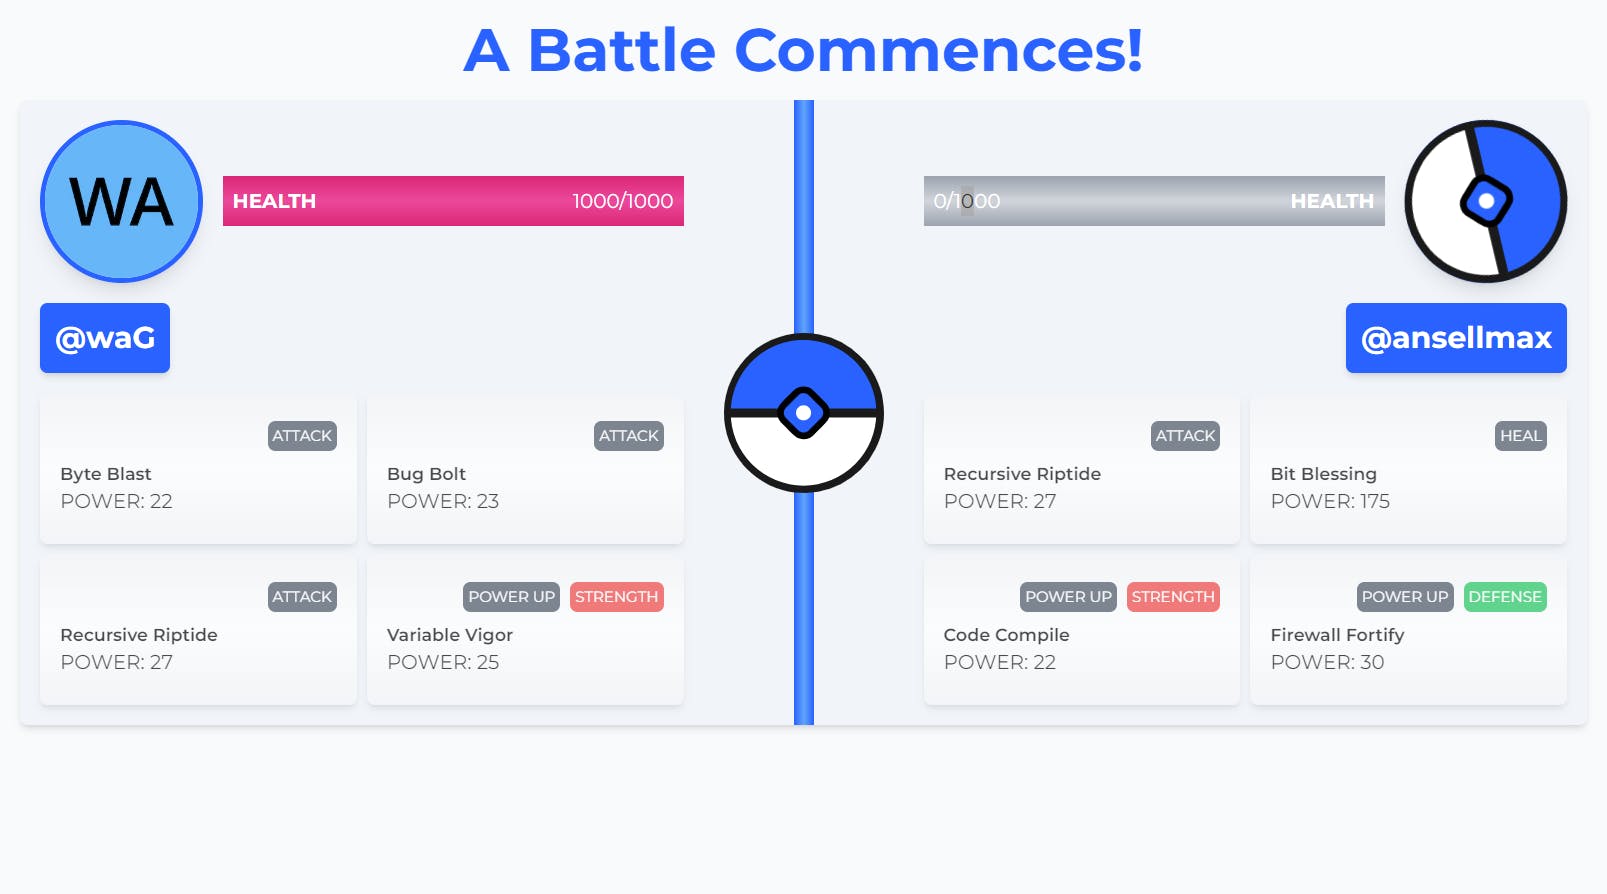
The developer with the higher speed stat will go first, and then both developers will take turns attacking each other after that. The battle goes on until one of the developers' health reaches 0.
If your developer loses, the battle just ends. If your developer wins, you will have a chance to capture (or hire) this developer into your team (unless you already have).
Hashnodex
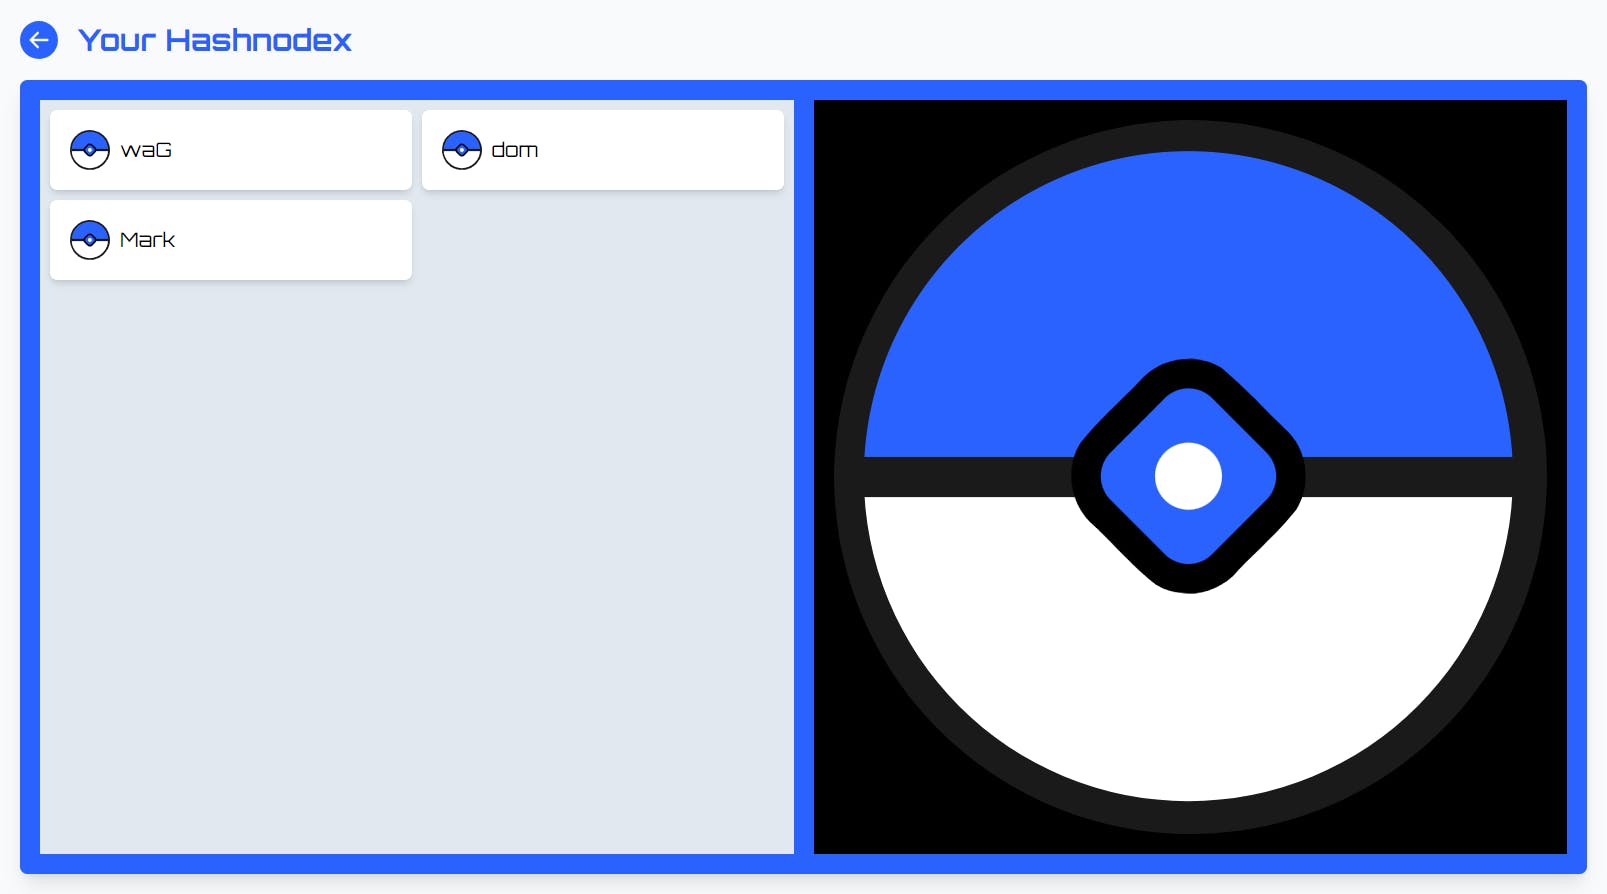
The Hashnodex page will let you view all the developers you have defeated and subsequently "persuaded" to join your team. In the first section, you will see a list of usernames of your team's developers. If you hover over or click on any list item, more detailed information on that particular developer will be revealed, such as their Hashnode metrics, their stats, and their move-set.

Development
This section will cover on a high level how I developed this game using Grafbase and how I utilized the helpful features they provide out of the box!
Connecting with Hashnode's Graphql API
When I was searching for ideas on what project I wanted to build with Grafbase, I had it in my mind that I wanted to build something that would require a feature that is somewhat unique (to my knowledge) to Grafbase and not just anything that can be built with another service.
What caught my eye first was the Edge Gateway's connector feature, which allows you to connect other APIs to your own with ease. And then I found out that Hashnode has its own Graphql API. From there, I started coming up with ideas that would involve that API until I came up with this.
Sure enough, during development, it only took me a couple of lines to connect with Hashnode's API.
const hashnode = connector.GraphQL({
  url: g.env("HASHNODE_API_URL"),
});

g.datasource(hashnode, { namespace: "hashnode" });
Extending the Hashnode API
I wanted each developer's stat points in the game to reflect who they are as a Hashnode developer/author. So I looked at the returned fields for users on the Hashnode API and looked to set their game stats based on those fields.
I focused on three fields: numPosts , numFollowers, and numReactions. The ratio of those 3 fields will directly translate into the developer's strength, defense, and speed stats respectively. So in-game stats will be directly proportional to the developer's posts, followers, and reactions.
To extend the Hashnode API, specifically the user type, I used another feature by Grafbase, which is "resolvers". Resolvers will allow me to add additional fields not returned by the original API.
//grafbase/resolvers/stats.ts
export default function StatsResolver(
  {
    numPosts,
    numReactions,
    numFollowers,
  }: { numPosts: number; numReactions: number; numFollowers: number }
) {
  let totalPoints = numFollowers + numPosts + numReactions;
  return {
    strength: (totalPoints === 0 ? 1 / 3 : numPosts / totalPoints) * 100,
    defense: (totalPoints === 0 ? 1 / 3 : numFollowers / totalPoints) * 100,
    speed: (totalPoints === 0 ? 1 / 3 : numReactions / totalPoints) * 100,
  };
}

// grafbase/grafbase.config.ts
g.extend("HashnodeUser", {
  stats: {
    returns: g.json(),
    resolver: "stats",
  },
});
As seen in the code above, all you need to extend and add a field to an external API's type is to create a resolver file (you can also do this in the config file) and then use the extend method to determine what should be returned by this extension by referencing the resolver file.
To use the extend method, provide it with two arguments. The first is the type you want to extend. Grafbase automatically determines this by this format: NamespaceType, where Namespace is the namespace that you have set in the datasource definition (in my case it was "hashnode") and Type is the type you want to extend (user in my case).
The second parameter describes what fields you want to add. In my example above, I want to return the stats object using the "stats" resolver.
Configuring the Schema
I also added my own types in the schema to support the features I want to have in the game, namely moves, the association between developers and their moves, and finally the list of devs that a particular authenticated user has on their team.
Here is my full schema:
import { g, auth, config, connector } from "@grafbase/sdk";

const hashnode = connector.GraphQL({
  url: g.env("HASHNODE_API_URL"),
});

g.datasource(hashnode, { namespace: "hashnode" });

const moveTypeEnum = g.enum("MoveType", [
  "ATTACK",
  "DEFENSE",
  "POWER_UP",
  "VIRUS",
  "HEAL",
]);
const targetStatEnum = g.enum("TargetStat", ["STRENGTH", "DEFENSE", "SPEED"]);

const move = g.model("Move", {
  name: g.string(),
  description: g.string(),
  type: g.enumRef(moveTypeEnum),
  targetStat: g.enumRef(targetStatEnum),
  power: g.int(),
  reflective: g.boolean(),
  continuous: g.boolean(),
});

const userMoves = g.model("UserMoves", {
  userId: g.string().unique(),
  moves: g.relation(move).list(),
});

g.model("UserDevs", {
  userId: g.string().unique(),
  devs: g.string().list(),
});

g.extend("HashnodeUser", {
  stats: {
    args: { myArg: g.string().optional() },
    returns: g.json(),
    resolver: "stats",
  },
});

const provider = auth.JWT({
  issuer: "nextauth",
  secret: g.env("NEXTAUTH_SECRET"),
});

export default config({
  schema: g,
  auth: {
    providers: [provider],
    rules: (rules) => {
      rules.private();
    },
  },
});
Authentication
As seen in the code snippet above, I also implemented authentication using Grafbase by using the JWT provider. This was all easy to develop by using Grafbase in conjunction with NextAuth.
Conclusion
I would like to thank Hashnode and Grafbase for hosting this event.

